

I love to read! More than any thing, I want to pass on that obsession passion to my three crazy gorgeous kiddos. To inspire them to put down the iPhone and break out the ol' paperback (at least until they each get iReaders), I have spent part of my summer creating a reading nook in our play/school room.
In total, I think I spent about $3.50 making this project. The other materials, I already had on hand. Here are the materials needed:
- 2 x 4 board (first number refers to the depth of the board, second number refers to the width). A 1 x 4 or 2 x 6 would work just as well. I bought a 2 x 4 x 6 (last number being the length - 6 feet) for roughly $3.50.
- Acrylic or craft paint and paintbrush
- miter saw (or have your local hardware store cut it for you for free)
- Wood glue
- Pencil, 2 - 2.5 inch screws, drill, sawtooth hangers, wall anchors
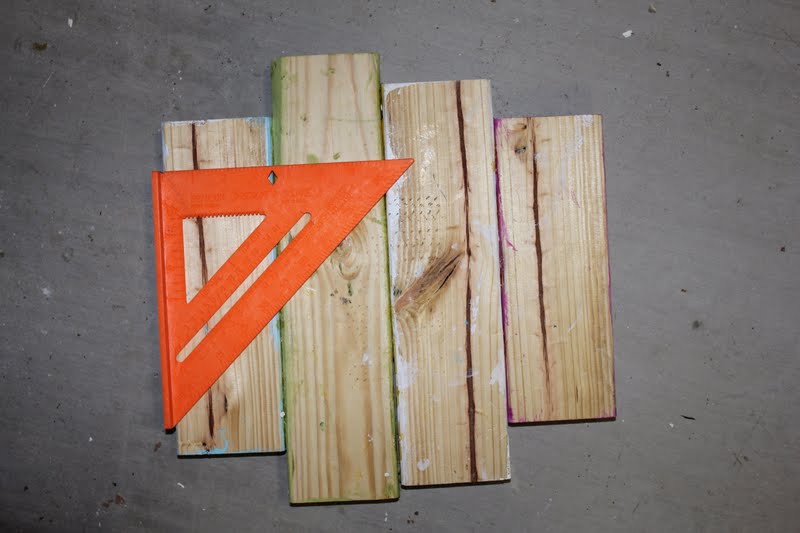
- optional: clamp, square, wood filler, wall (just kidding, the wall is probably pretty essential if you want to hang it)
Step 1. Cut the 2 x 4 into various sizes.
My boards range from 10.5 inches to 14.5 inches roughly. I used a mitre saw (could not live without my mitre saw!) to make straight cuts, but you could easily get someone at your local hardware store to make these cuts for you.
Step 2. Paint the boards various colors.
This is a great naptime activity to do with your non-napping kiddos. The more they mess it up, the more "character" it has. That what I kept telling myself, any way.
Tip: After painting the board the base color, use a "dry" brush to paint on a complimentary color.

Optional: An optional step is to sand the edges at this point to age the wood. I didn't do that. I felt like the different color paint on each board was enough. Plus, I'm flat lazy.

Step 3: While the paint is drying, design the letters. I suggest using a different font for each letter to make it more interesting. I used GIMP (a freeware similar to Photoshop) to design my letters.

Step 4: Once the paint is dry, use a pencil to draw the letters onto each board.

Step 5: Paint the letters.
Be sure to use accent colors on each letter. Add little design elements here and there for some eye candy.

Step 6: Break out the wood glue.

Glue those bad boys together. Don't be stingy with that glue.

If you have a clamp, now would be the time to use it. If not, you can improvise using heavy objects to reinforce them together. Although the glue bottle probable only says it takes 30 minutes to dry, I suggest leaving it overnight.

Be careful taking it out of the clamp. Those boards are heavy and they may not stay together completely with glue alone.

Step 7: Reinforce the boards with claw-backy-thingies (see below) OR screws.

I never, ever have luck with the claw-backy-thingies (and I never turn down the opportunity to use a power tool), so I chose to use 2 inch screws.

Drill a screw at an angle into every joining board. Don't forget to pre-drill!

It should look like this:

Optional: Feel free to use some wood filler (not putty!) here to cover up the screws. I did not. Again...lazy.
Step 8: Hammer the sawtooth hanger on the back.
Tip: Use a square to draw a straight line on the back.
I used this hanger:

Probably the trickest part of this entire craft is holding down those tiny, itsy-bitsy little nails that go into the hanger. Evil little things.

Voila! Hang it above your book shelves using a wall anchor. (unless you are able to nail it into a stud).


Feel free to email me if you have any questions! If you make a similar sign, I'd love to see it!
Your sign is so sweet!! I love the wood colors and the different fonts for the letters. Great job!!
ReplyDeleteThat is just adorable, i love the fonts! I have a tip for you. Hold the nail with needle nose plyers, works like a charm. I have also hit them with a touch of hot glue then nail them in. It works really well!
ReplyDeleteHaving spent many many hours over the past 3 weeks at our local library (due to an internet outage at our home) I was impressed by the number of programs and offering throughout the summer hosted by it. It was so encouraging to see so many young children coming in day after day to avail themselves of what the library had to offer them. You encouraging the love of reading in your son is wonderful and your homemade craft is beautiful.
ReplyDeleteI LOVE this!! Just pinned it, I hope that is okay with you. :)
ReplyDeleteThat’s a great site you folks have been carrying out there. onesie
ReplyDeleteThat’s a great site you folks have been carrying out there. onesie
ReplyDeleteCool stuff you have got and you keep update all of us. Best Wooden Hangers 2018
ReplyDelete